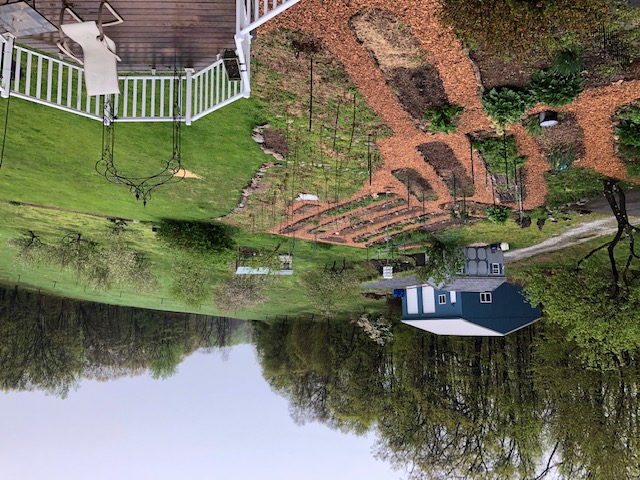
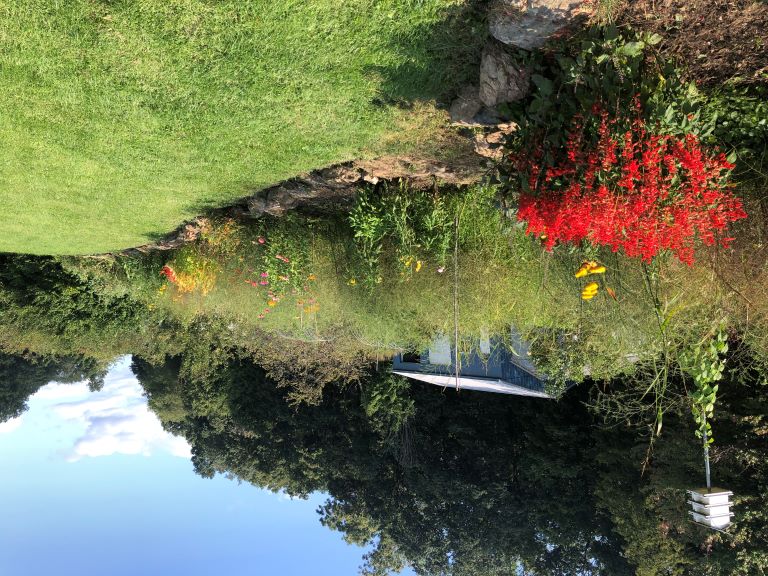
The bird's eye view of the food garden.
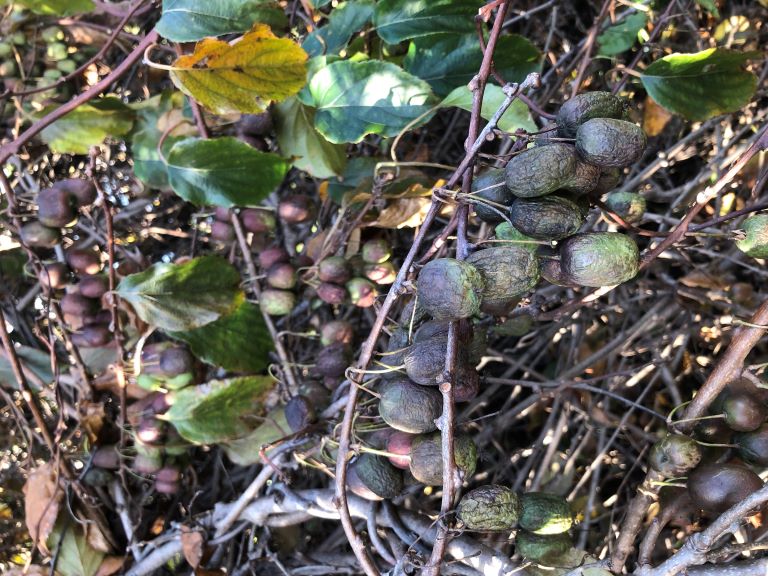
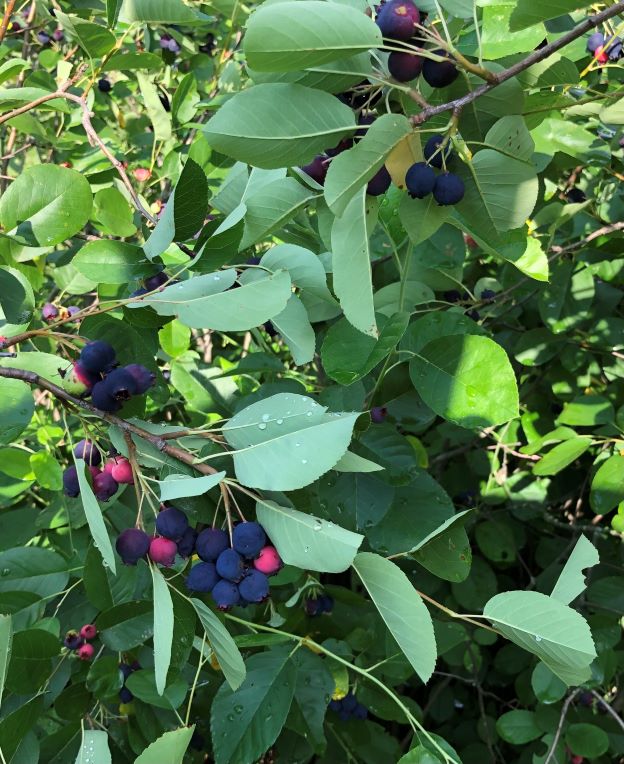
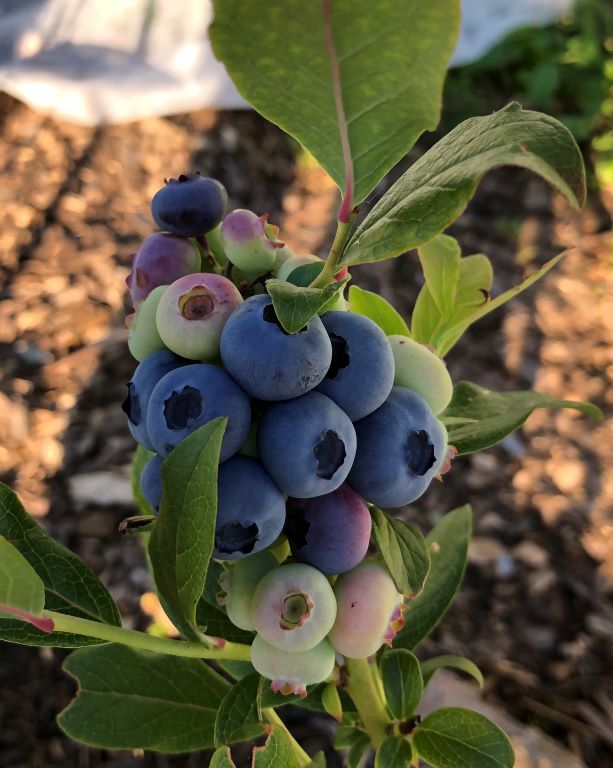
Edible landscaping is used to a significant extent, incorporating Blackberry, Grape, Kiwi, Goji berry, Paw paw, Walnuts, etc. as well as native fruits and nuts such as Black Walnut and American Butternut in the botanical gardens and surrounding landscape.
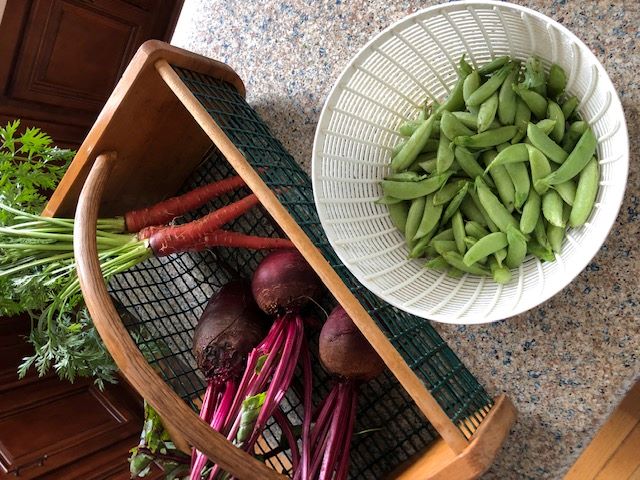
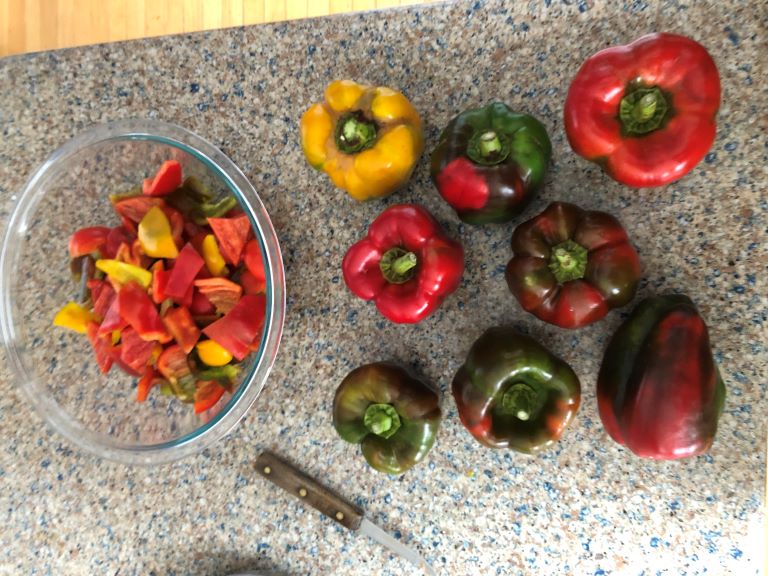
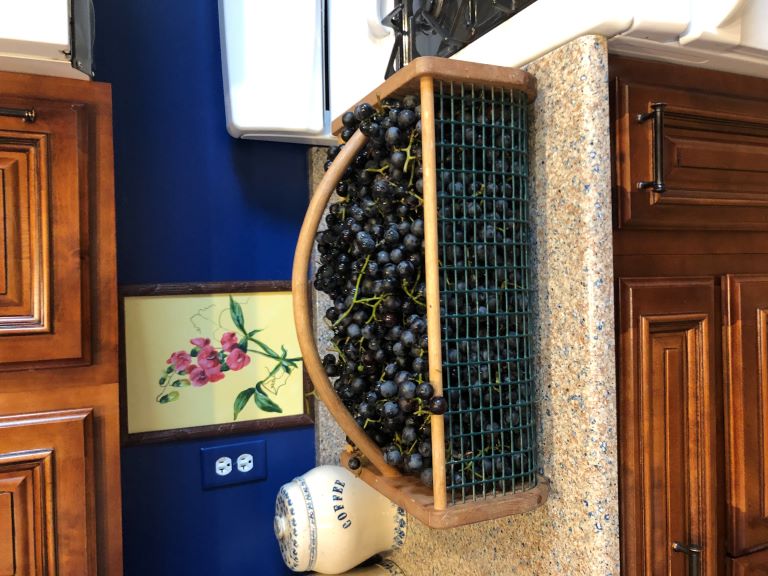
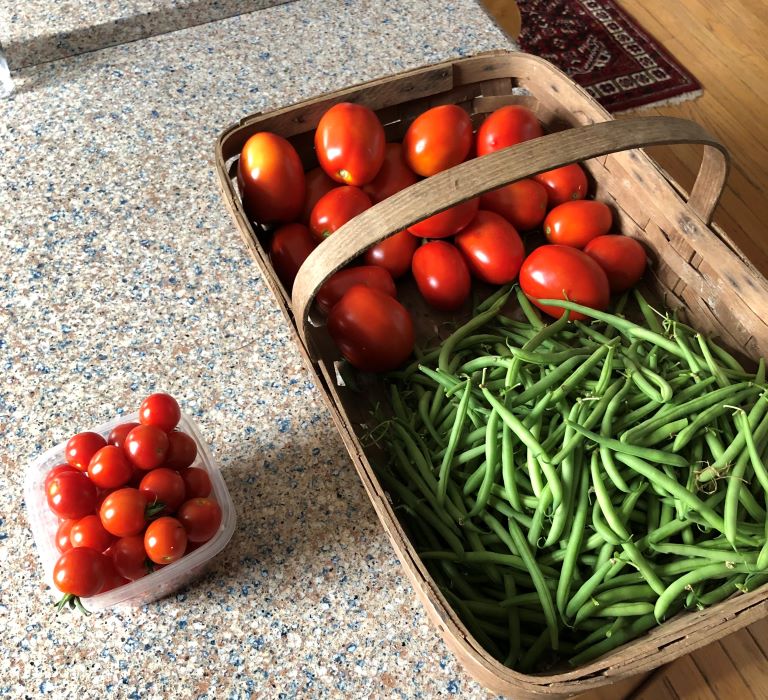
We also cultivate a more traditional food garden, again with stone terraced raised beds where we grow a more typical mix of vegetables and fruits with some companion flowers and herbs mixed in.
Herbs also have their own small garden, closest to the kitchen.
The bird's eye view of the food garden.
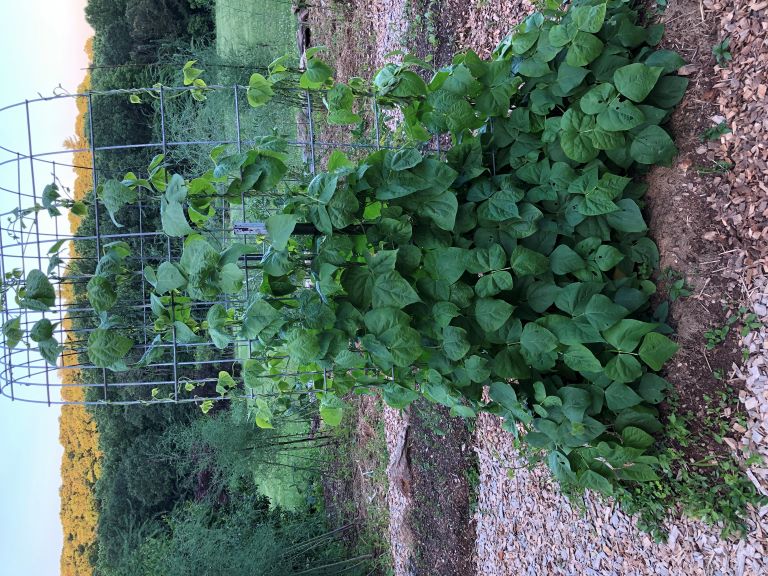
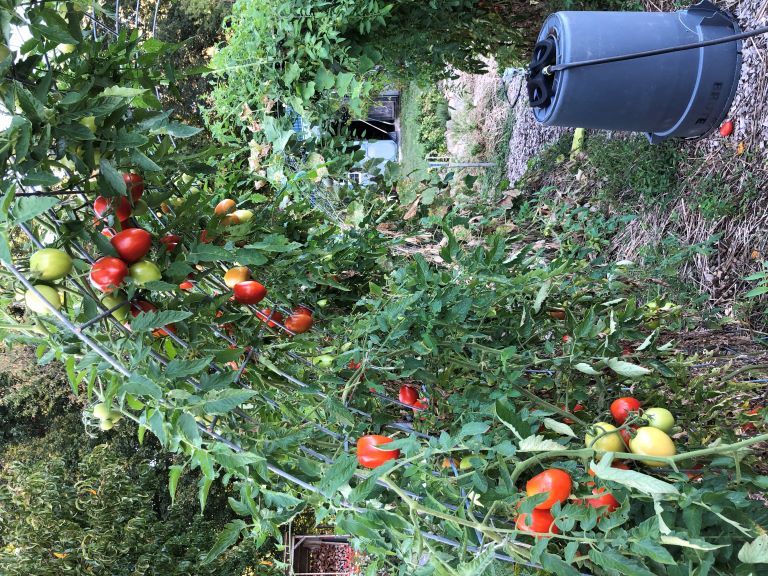
Another recent change to the food garden since terracing, is the introduction of cattle panel trellising. Depending on one's needs, hog panels can also be used, they are simply a bit narrower, typically 34 inches wide.
Cattle panels, also called a feedlot panel or livestock panel, is an incredibly simple and useful trellising mechanism. Standard cattle panels are 16 feet long and 50 inches wide and can be easily used as a vertical arch trellis or a horizontal trellis. As a vertical arch bent in a U shape over a typical bed center to bed center of 4 feet, the arch is over 7 feet high providing comfortable clearance for anyone to walk under. Although easily bent to shape, once they are no longer needed and the T-post supports are removed, they quickly can be bent back flat for storage or use as a horizontal trellis. To store them between seasons, we hang them on supports on our barn walls and some simply stay installed in the garden year round.
They are very inexpensive, typically around $22 at sources such as Tractor Supply. All that is required is a cattle panel, two T-posts, and a few reusable zip ties. A helper is also very useful, although one large person can manage the construction if necessary.
We were introduced to the concept by an avid gardener friend who pointed us to this excellent video and explanation of the varied uses of cattle panels in the garden. You can find many explanations now of their use but that video filmed at the Roots and Refuge farm will, to us, always be the best (and early) source of this wonderful technique.
Some of these trellises will appear in the gallery.

We had discussed having a coldframe for several years. Initially the main resistance was "gardening fatigue" which is basically the need for the human to rest a bit in the winter from the constant, albeit pleasurable work of caring for all the growing things. Once the desire for organic greens in winter overcame that resistance, we were faced with a buy or build decision. Buying had many advantages including proven construction with lightweight materials, no effort other than finding a location, and fancy features such as automatic venting. The disadvantage was cost, starting around $300 for a basic unit, around $450 for a similar unit with automatic venting, and more costly from there. The size was also completely determined by the seller. Building had advantages of repurposing materials on hand or obtainable for free and thereby keeping them out of a landfill but the disadvantage of needing to possess the skills to build one. The lightweight polycarbonate panels favored for coldframe construction were also not free, but rather quite expensive.
A few more years passed.
We then saw a good, clearly described plan to build a basic coldframe in an excellent book, Niki Jabbour's The Year-Round Vegetable Gardener. Now we had a plan, but the recommended polycarbonate was still expensive. Coincidentally, one of us was given the opportunity to work for a friend at hard labor doing a kitchen remodeling and extension. This provided some skills acquisition *and* a used set of double pane kitchen windows that could be repurposed.
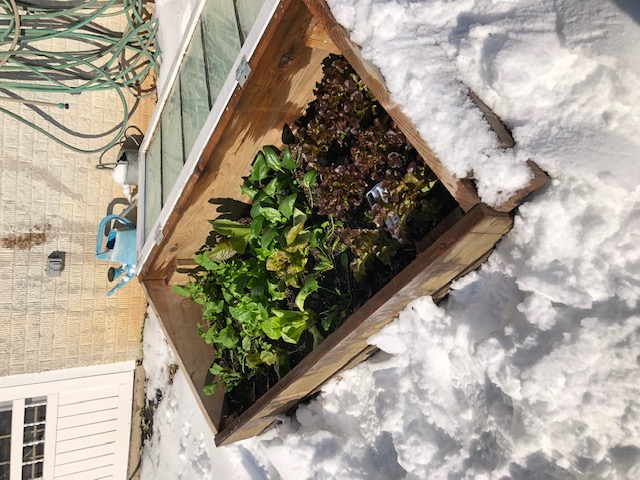
Greens thriving after a heavy snow.
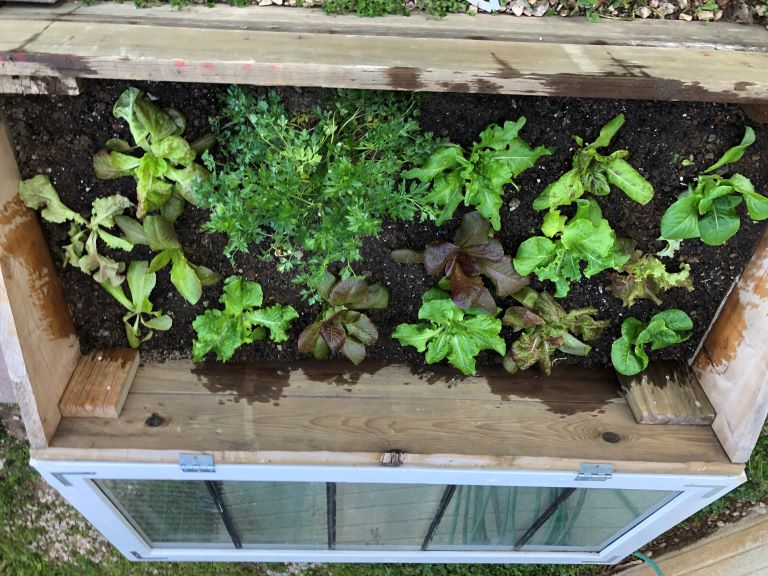
Greens in early spring.
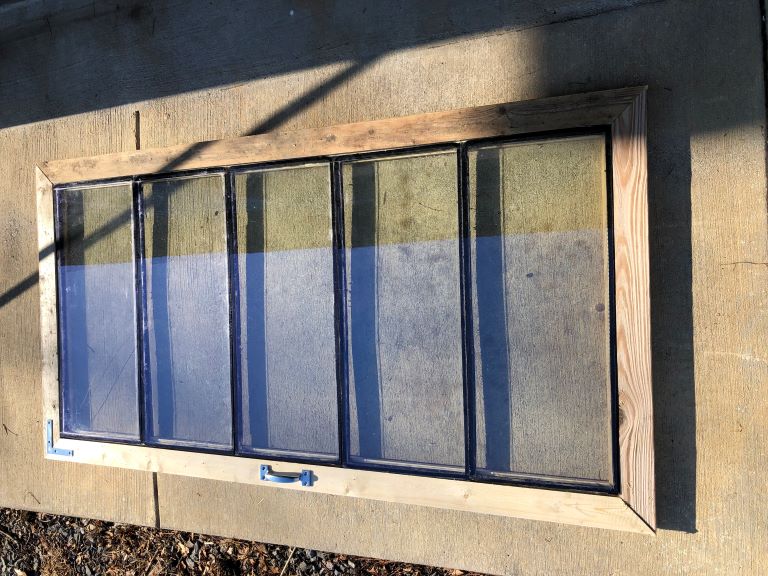
Since we acquired the glazing (glass) for free, we built the coldframe to the size of the glazing we had, using the plans mentioned above but adjusting all the dimensions. The used double pane windows were very heavy and we added to the weight of the top by framing the glass in standard 2x4" lumber. Consequently, there will be an opportunity to make Coldframe Version 2 more accessible to a person of average strength.
Glass extracted, 2x4" routed.
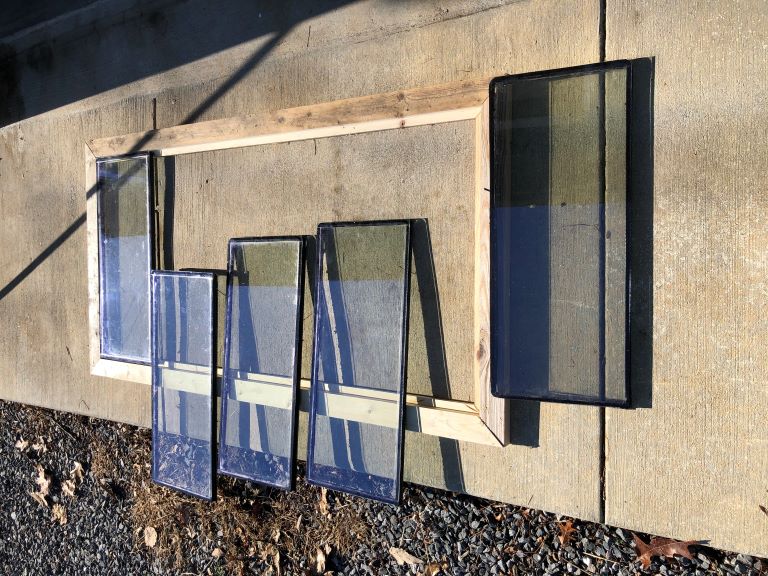
Assembled top.